Ondato user verification guide
In this tutorial we will guide you on how to successfully complete the KYC process.
How to start the verification process?
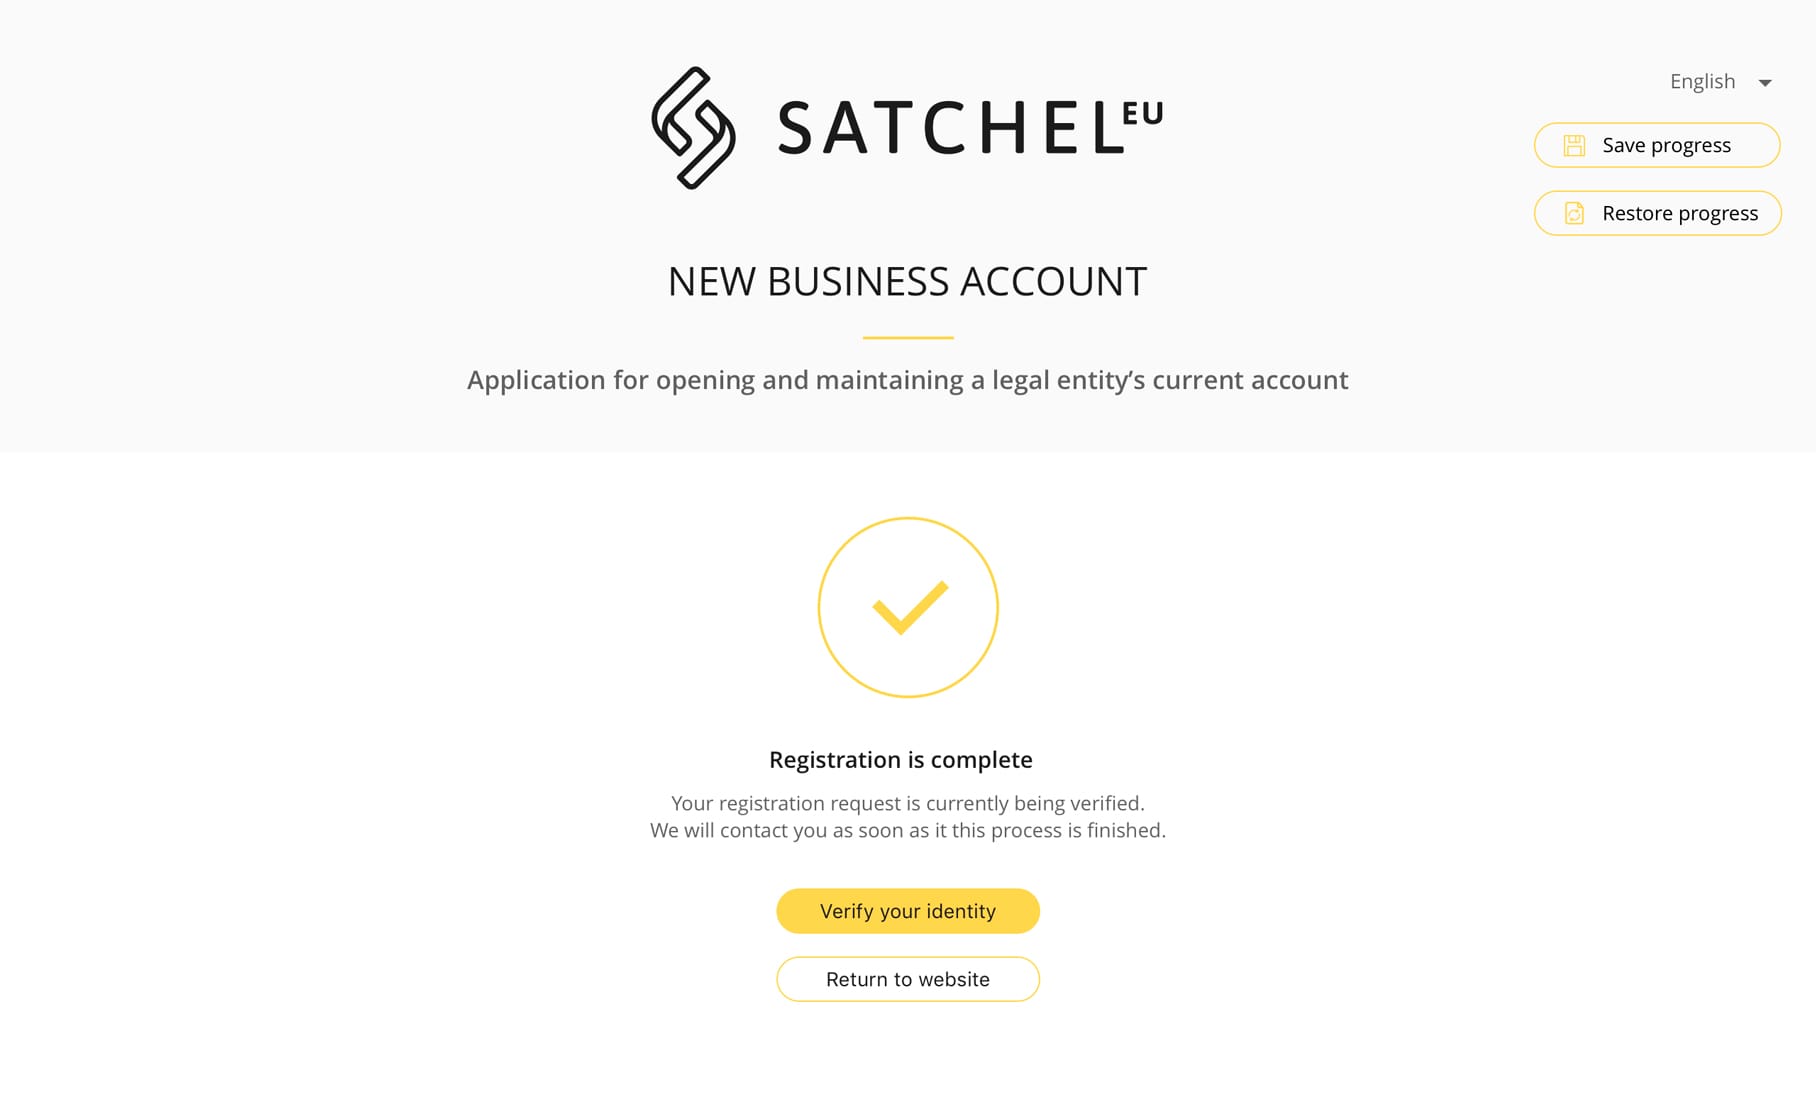
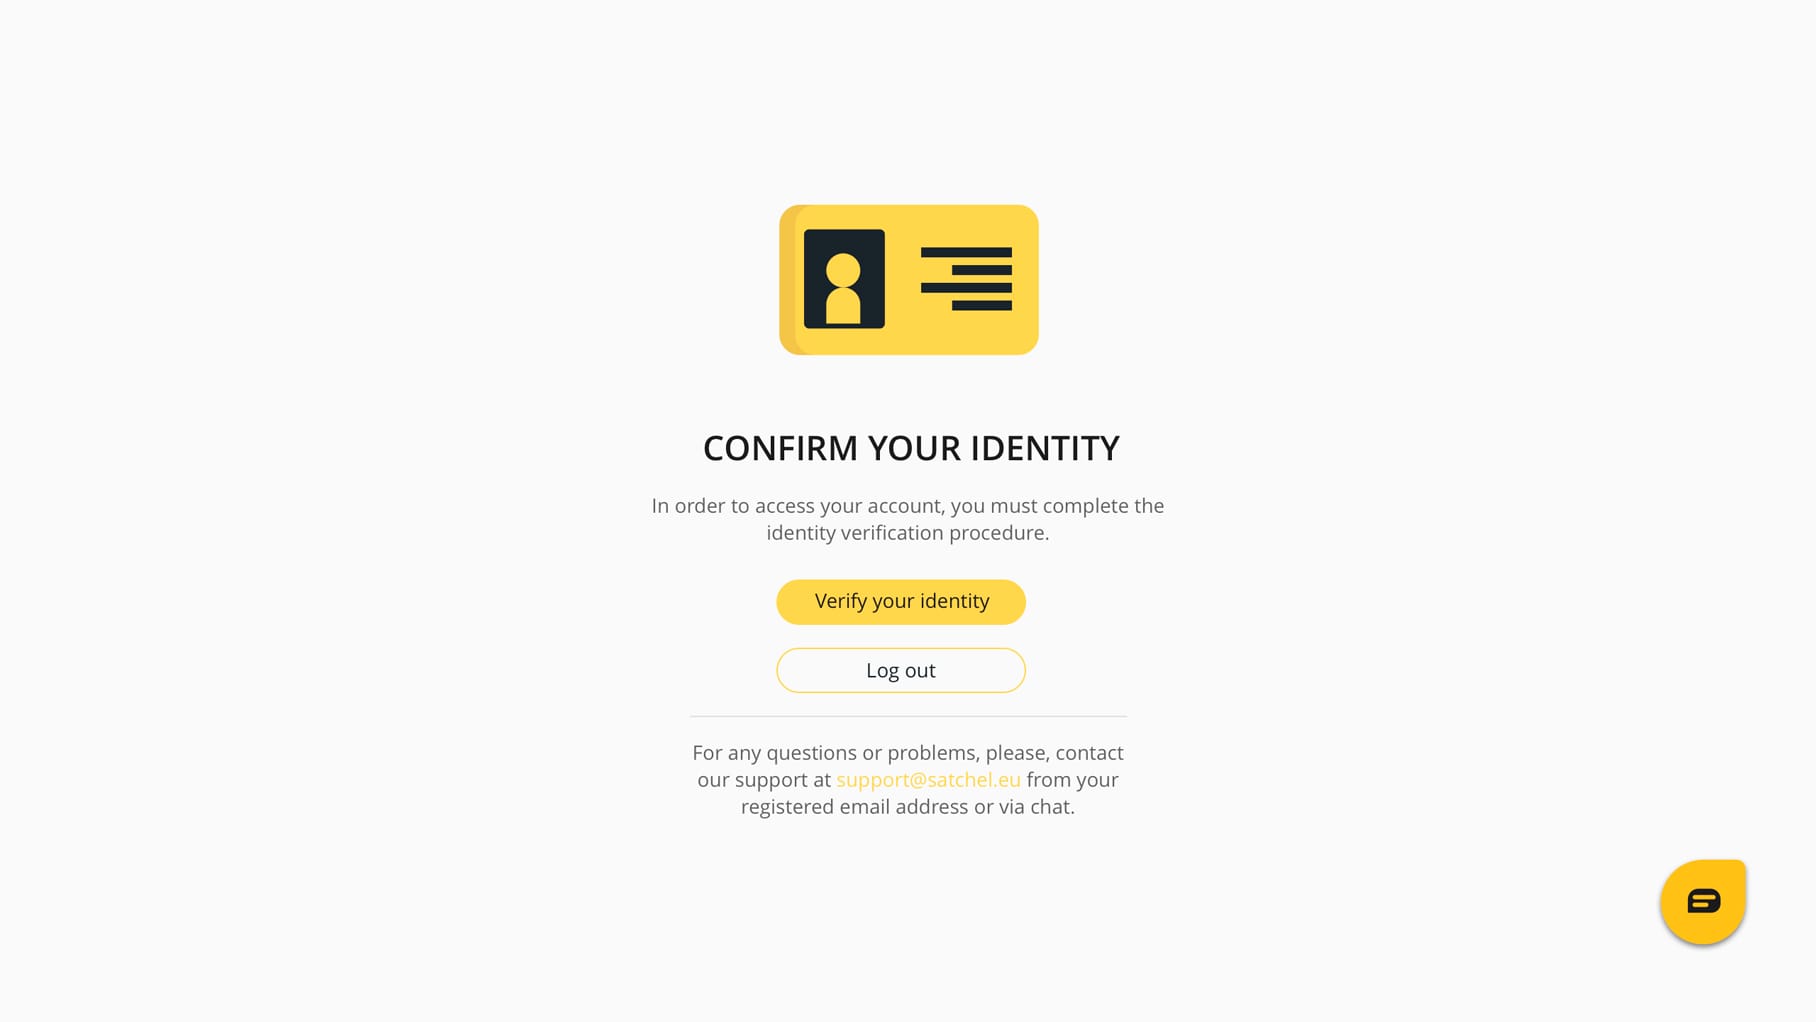
After successfully submitting the registration form, you will see the "Verify your identity" button. You can initiate the verification process by simply clicking on it.
There are 3 ways to access the verification process:
- Upon successful form submission
Click on the “Verify your identity” button to initiate the verification process.
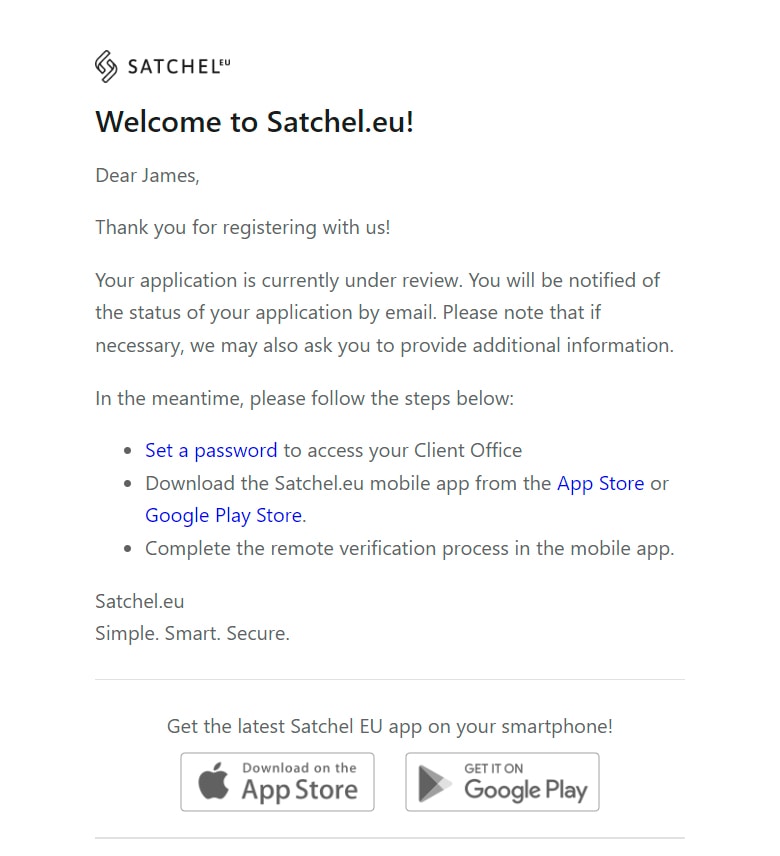
- From the welcome email
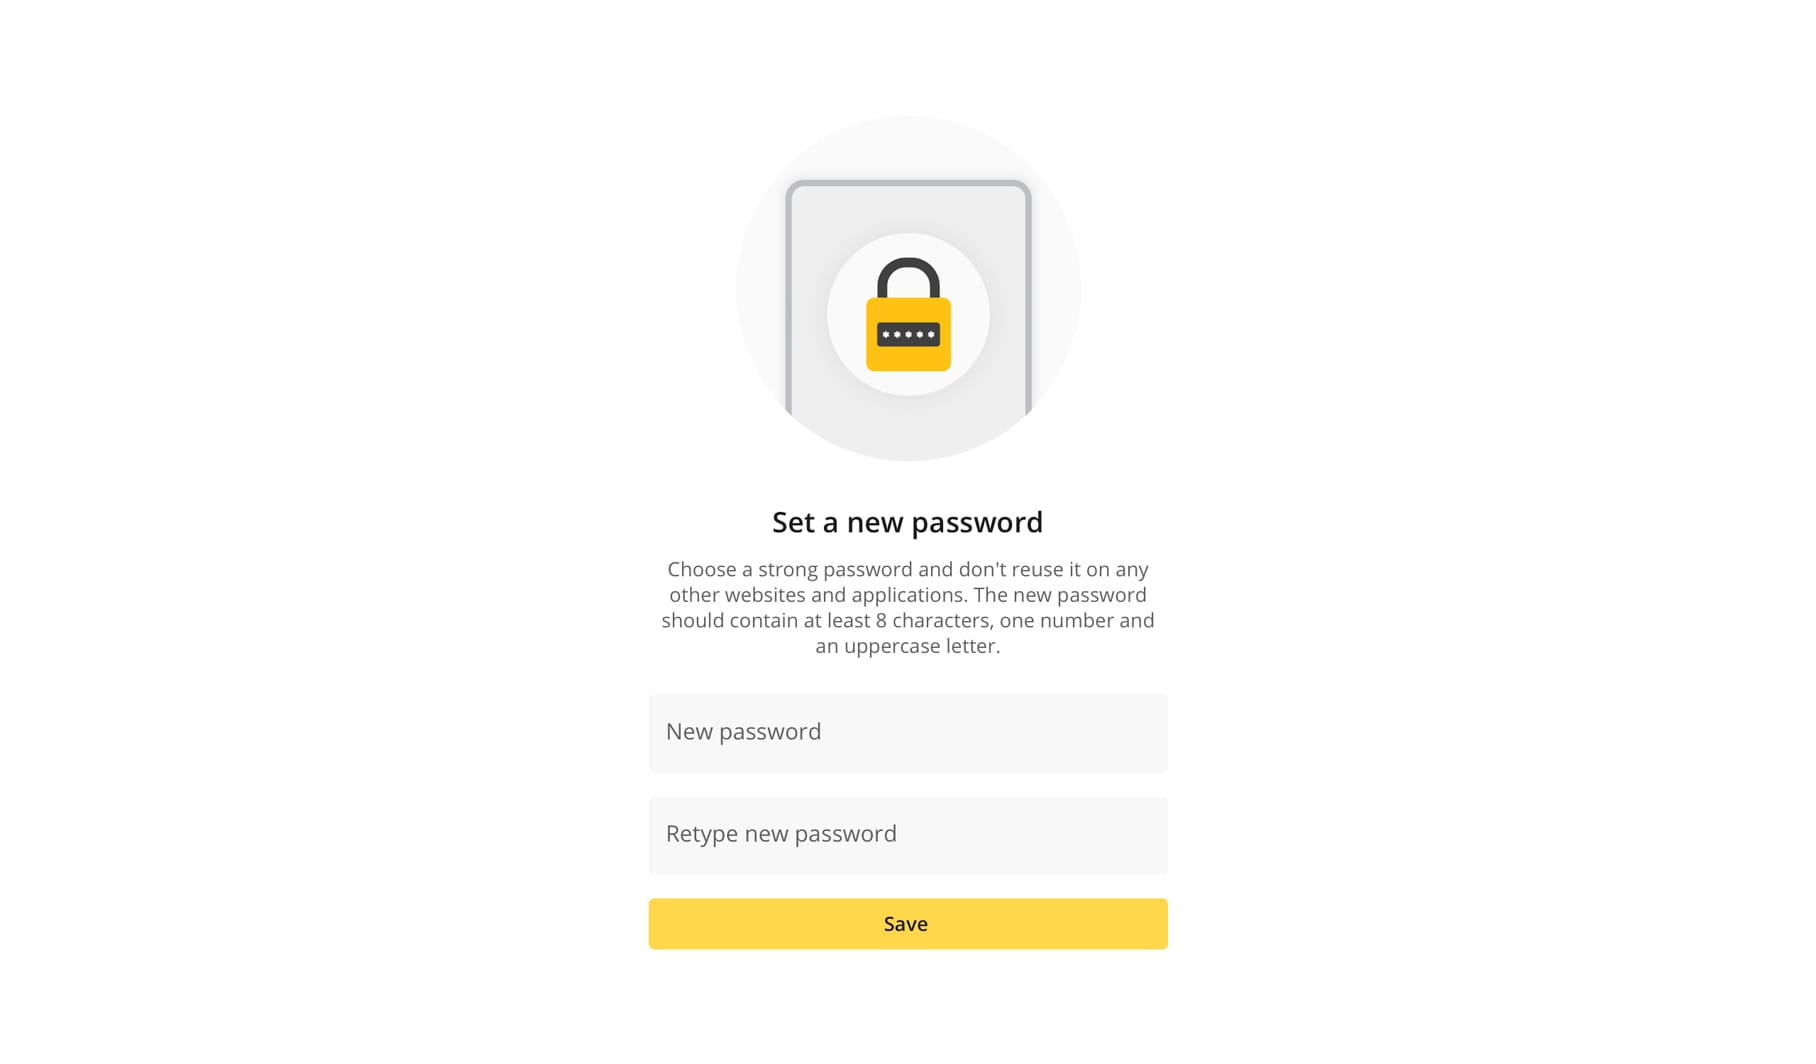
After clicking on the “Set password” button and successfully setting the password in the client office, you will see the “Verify your identity” button in the client portal.
- From the mobile application
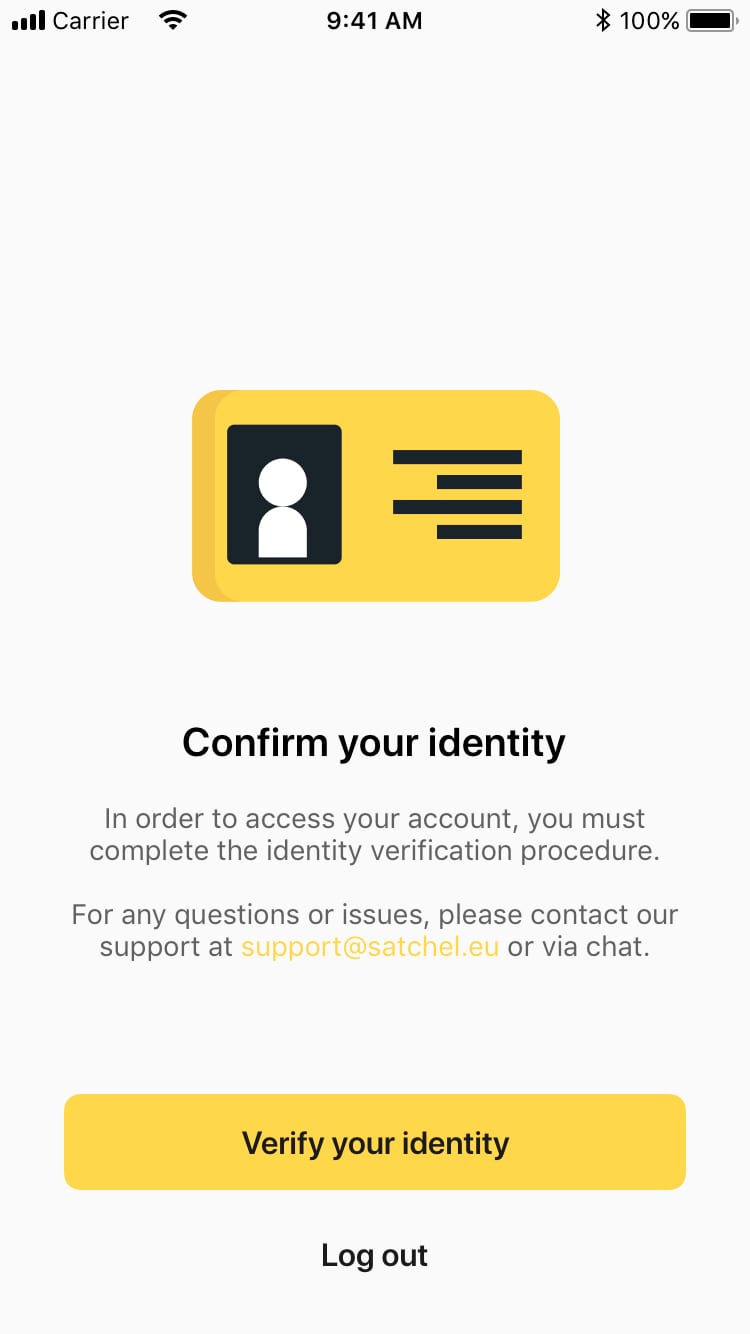
Our mobile app also has a "Verify Your Identity" button, but since the verification process is web-based, clicking on "Verify Your Identity" will redirect you to a mobile web browser.
How to complete the verification process?
Step 1
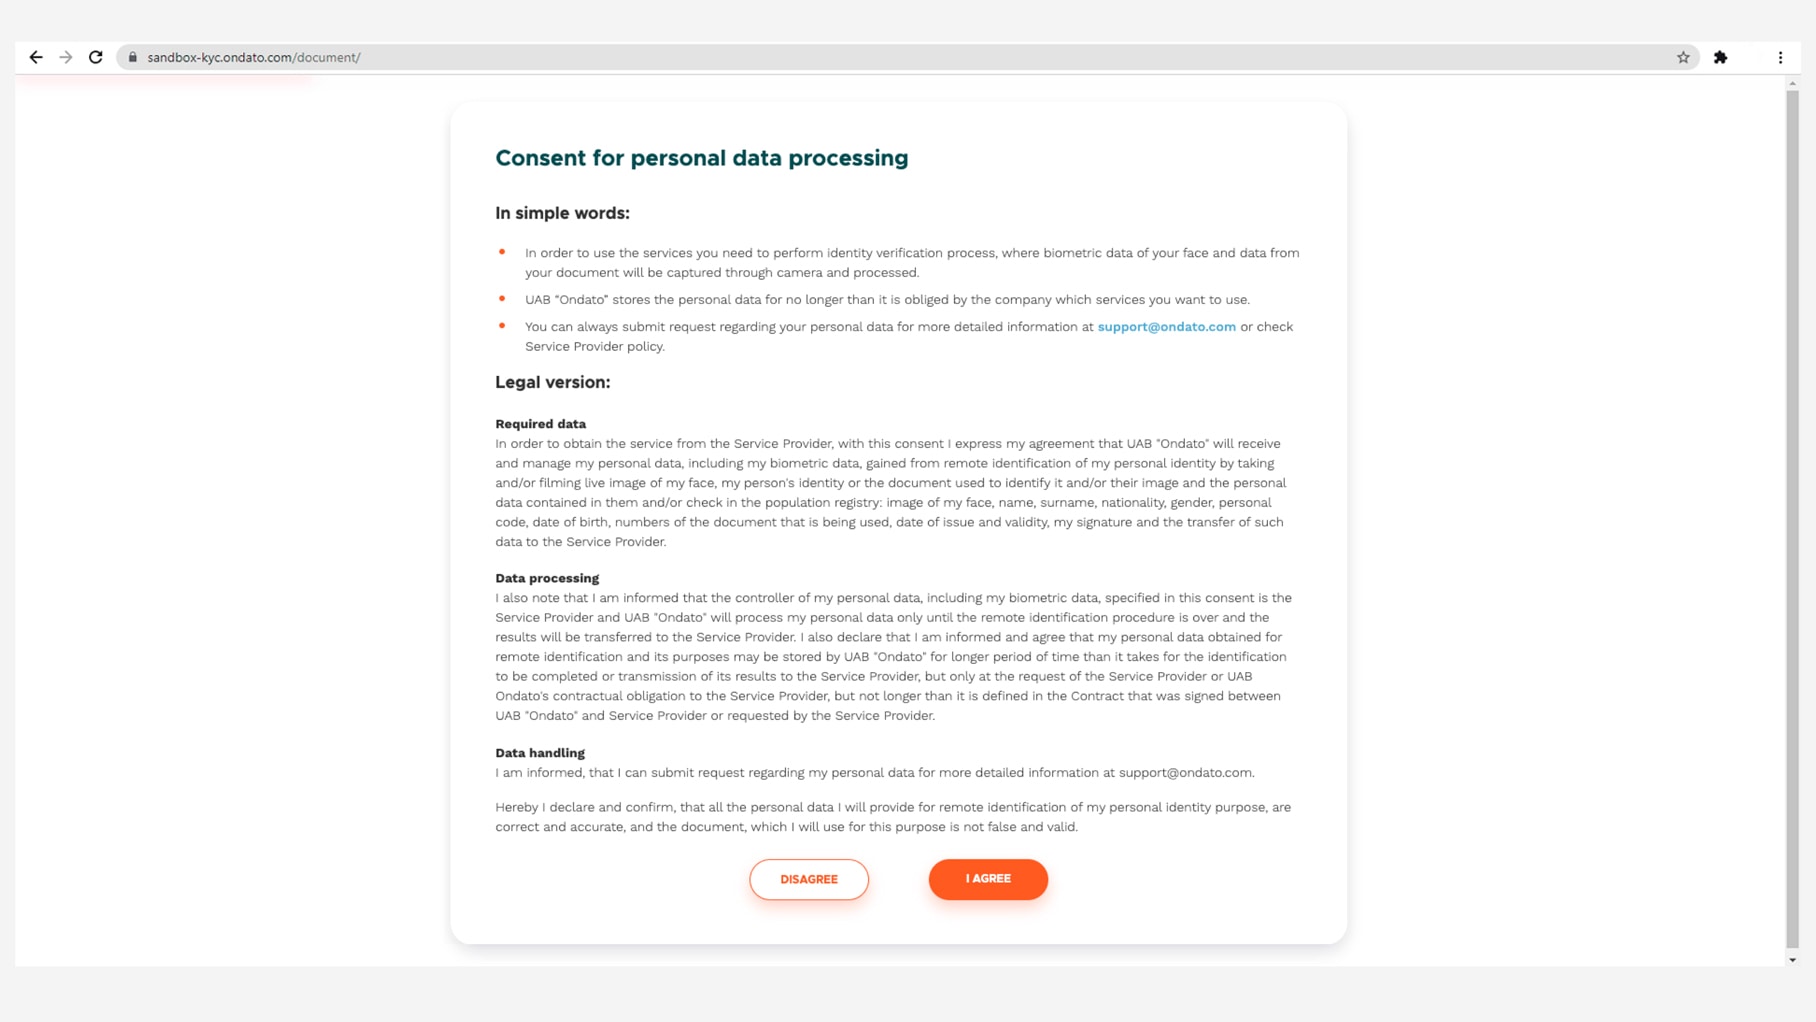
Agree with consent for personal data processing.
Step 2
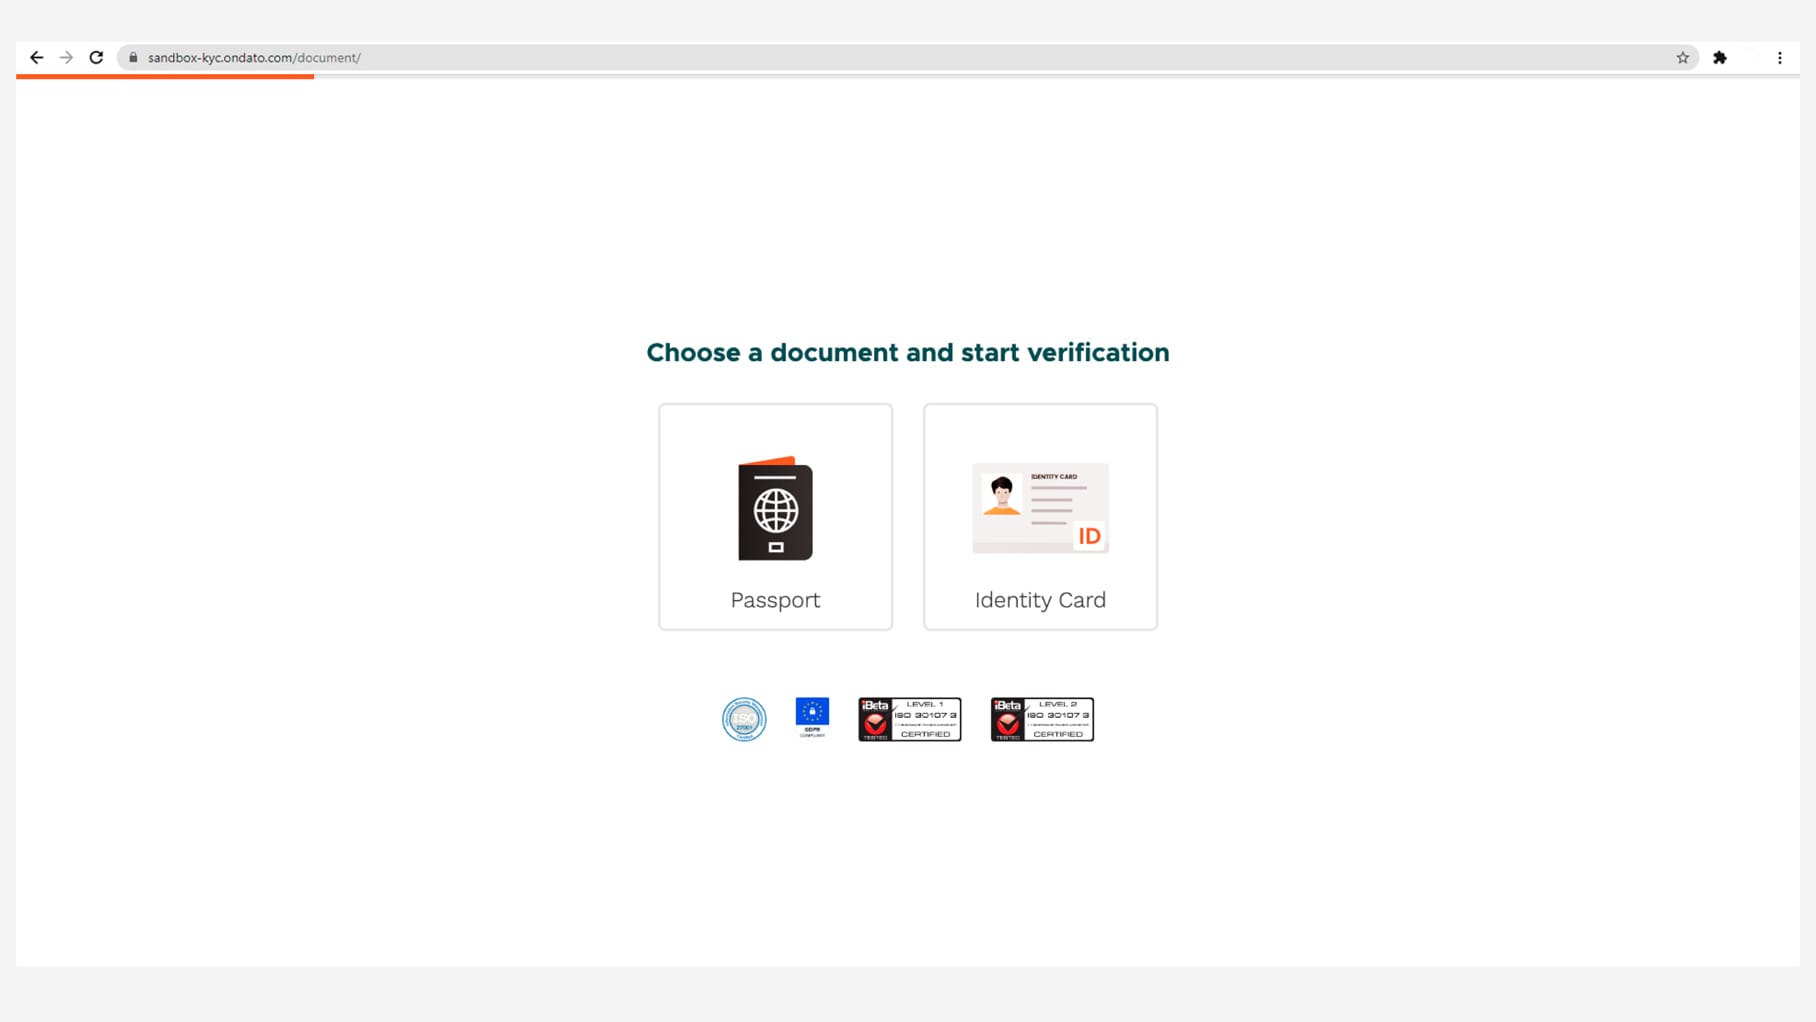
Select document type.
Step 3
Take a photo of the main page of the document following the instructions.
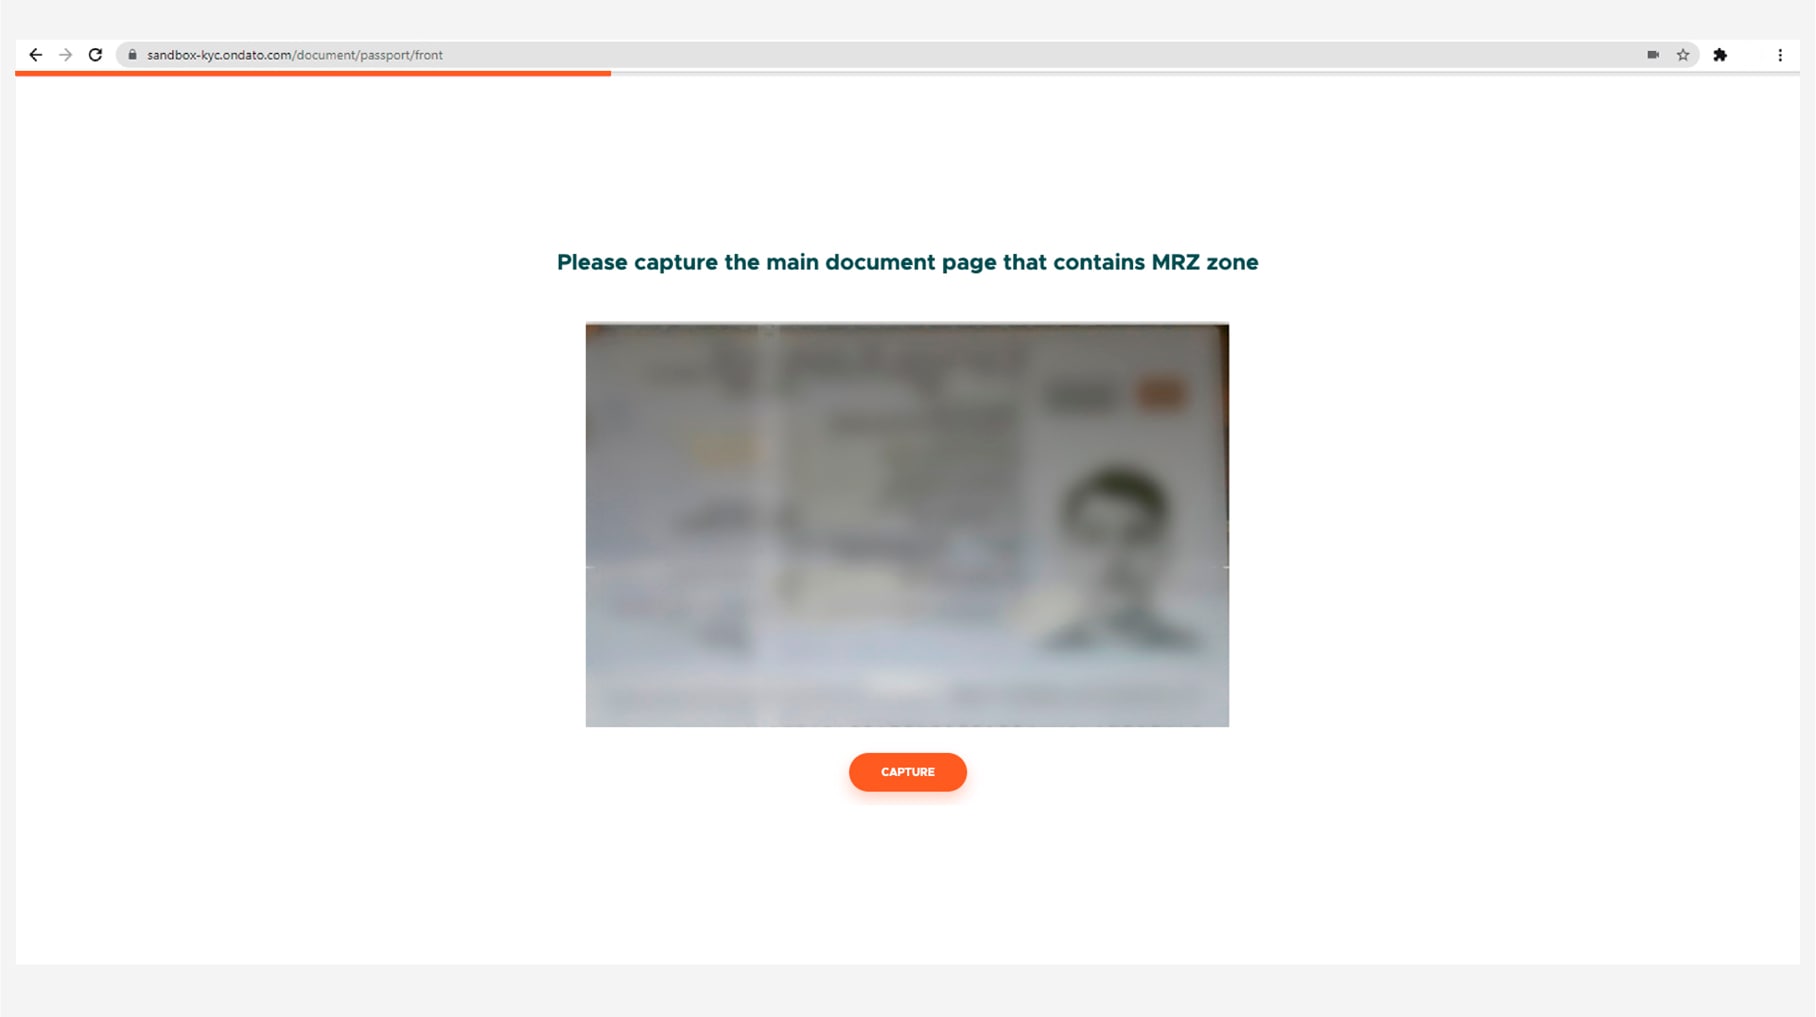
Step 4
Check the quality of the captured image.
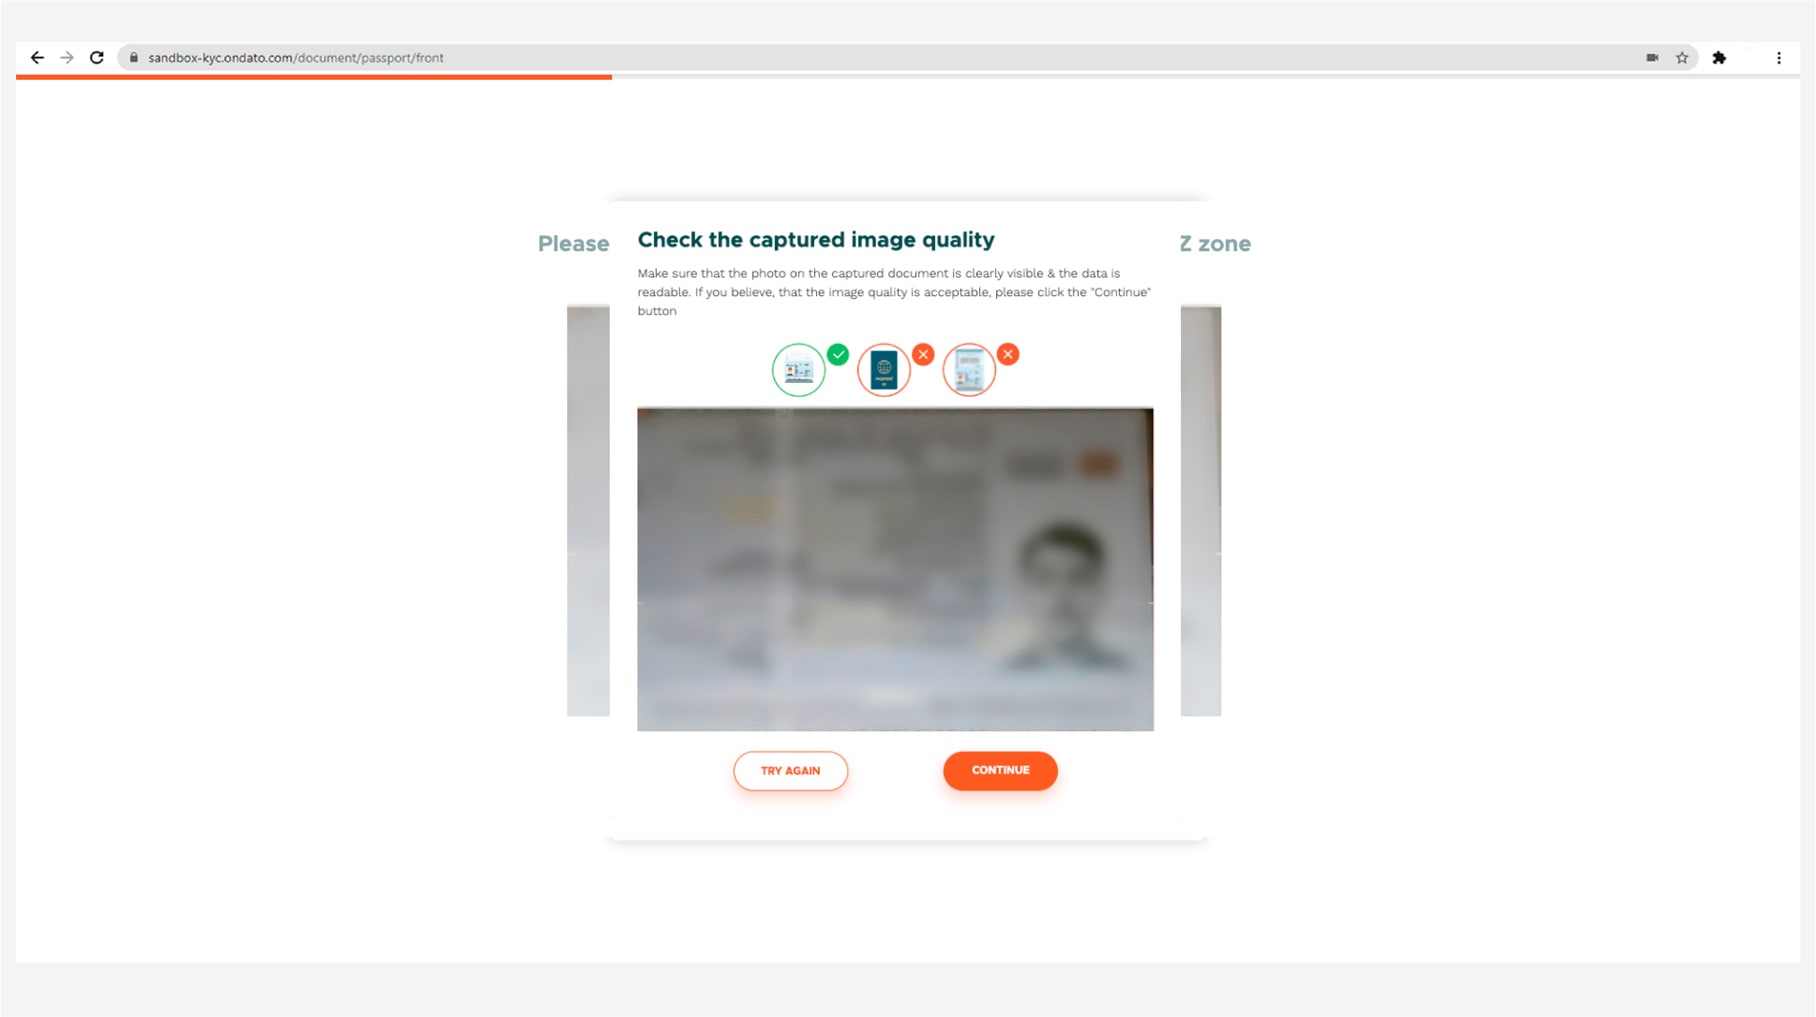
Step 5
Take a selfie following the instructions.
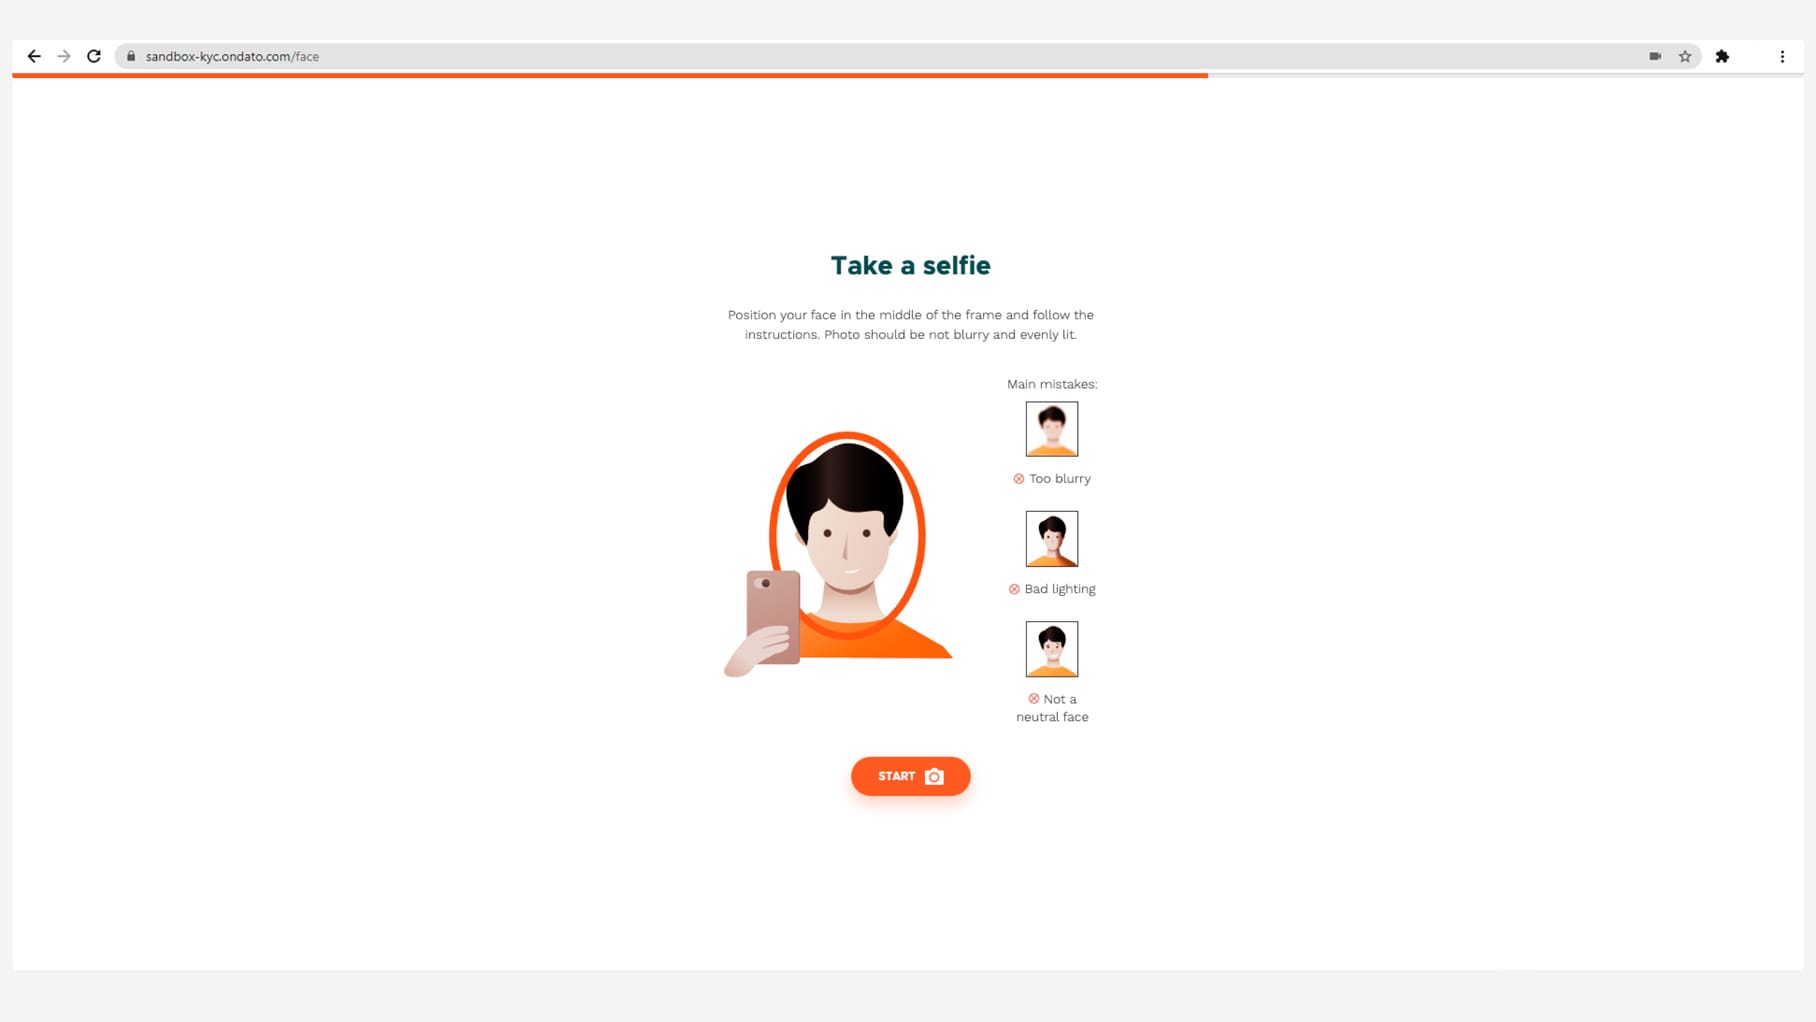
Step 6
Facial analysis in progress.
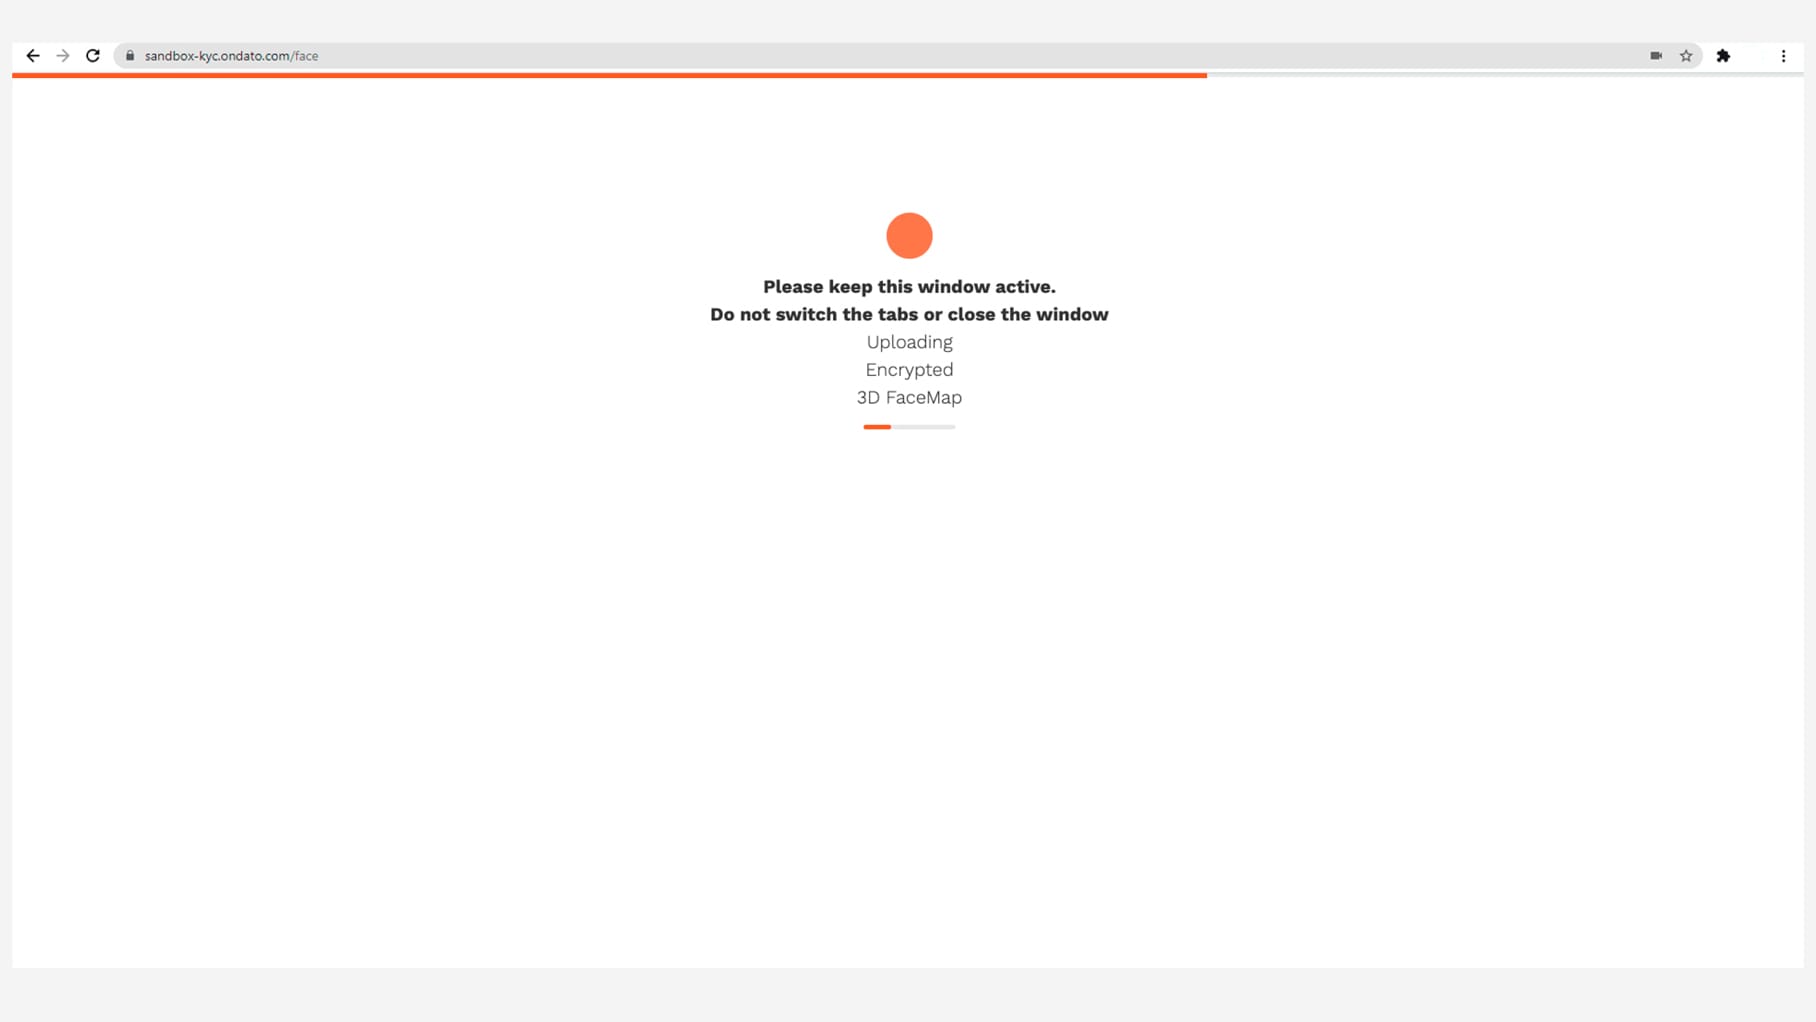
Step 7
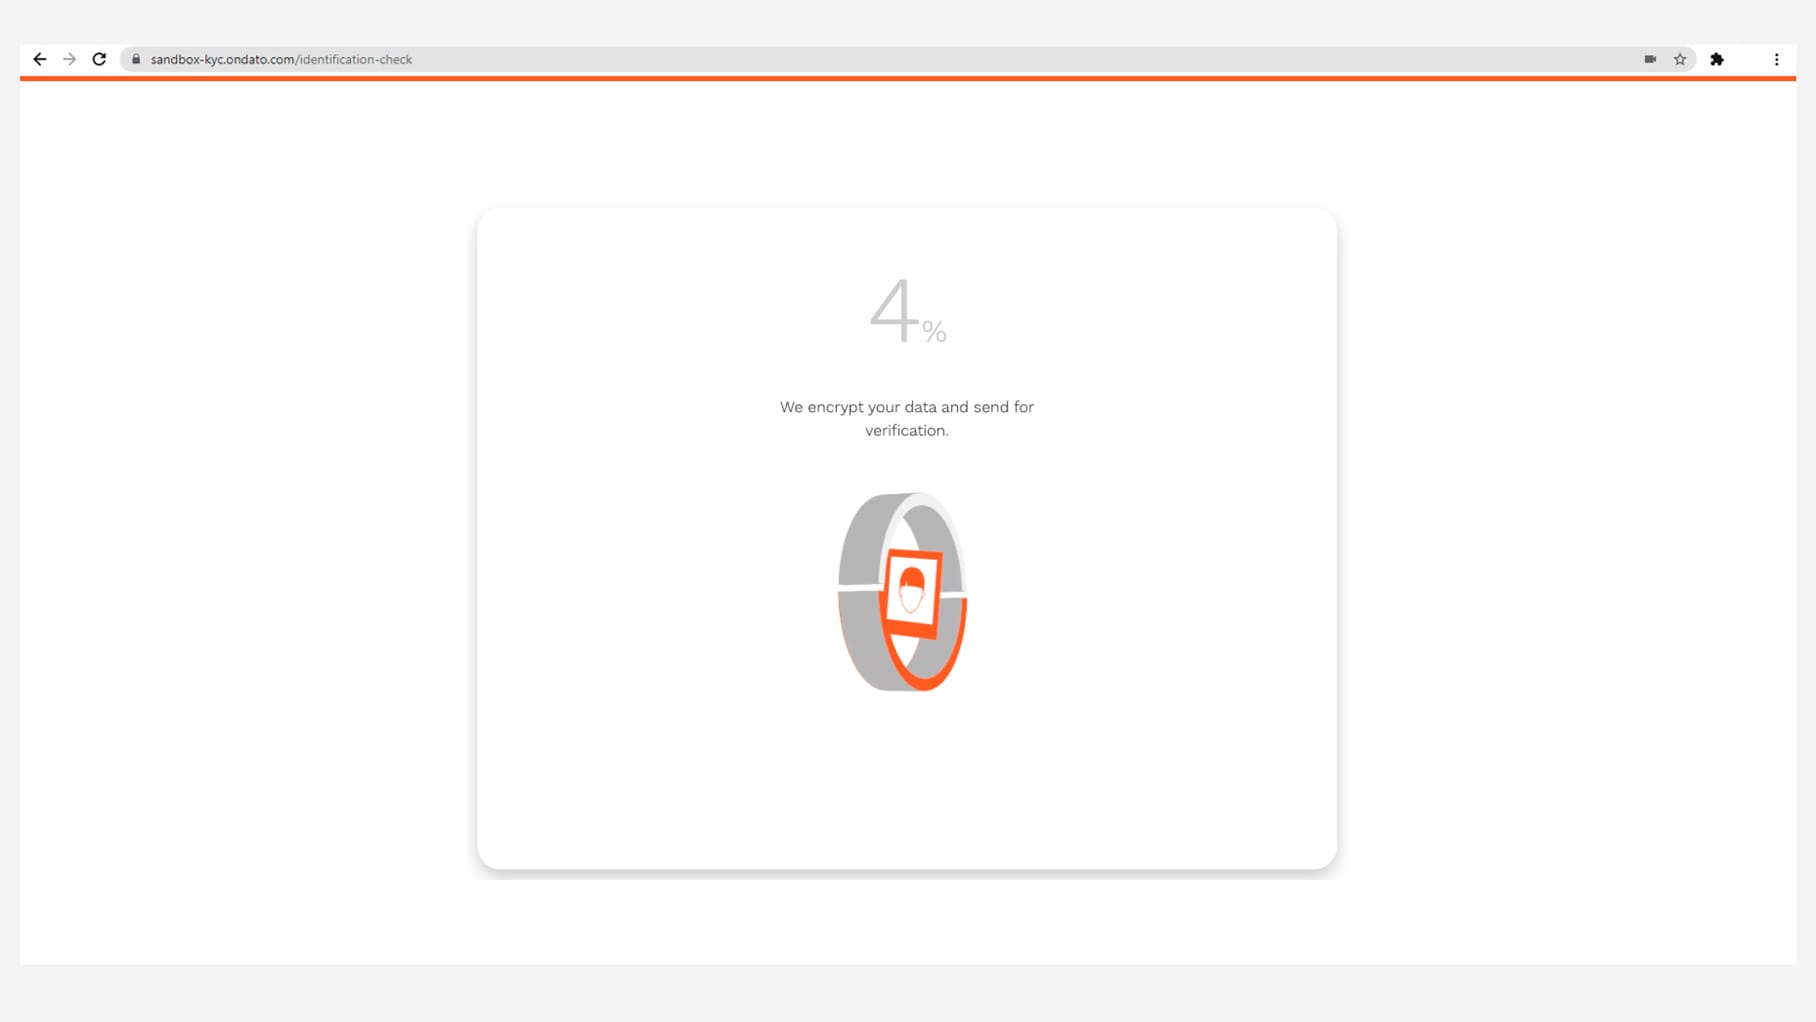
At this step, an automatic check will be performed. When the auto-test countdown ends, you will see a "Success" or “Retest" status message. If the message “Retry Verification” appears, please follow the instructions to go through the verification process once again.
Step 8
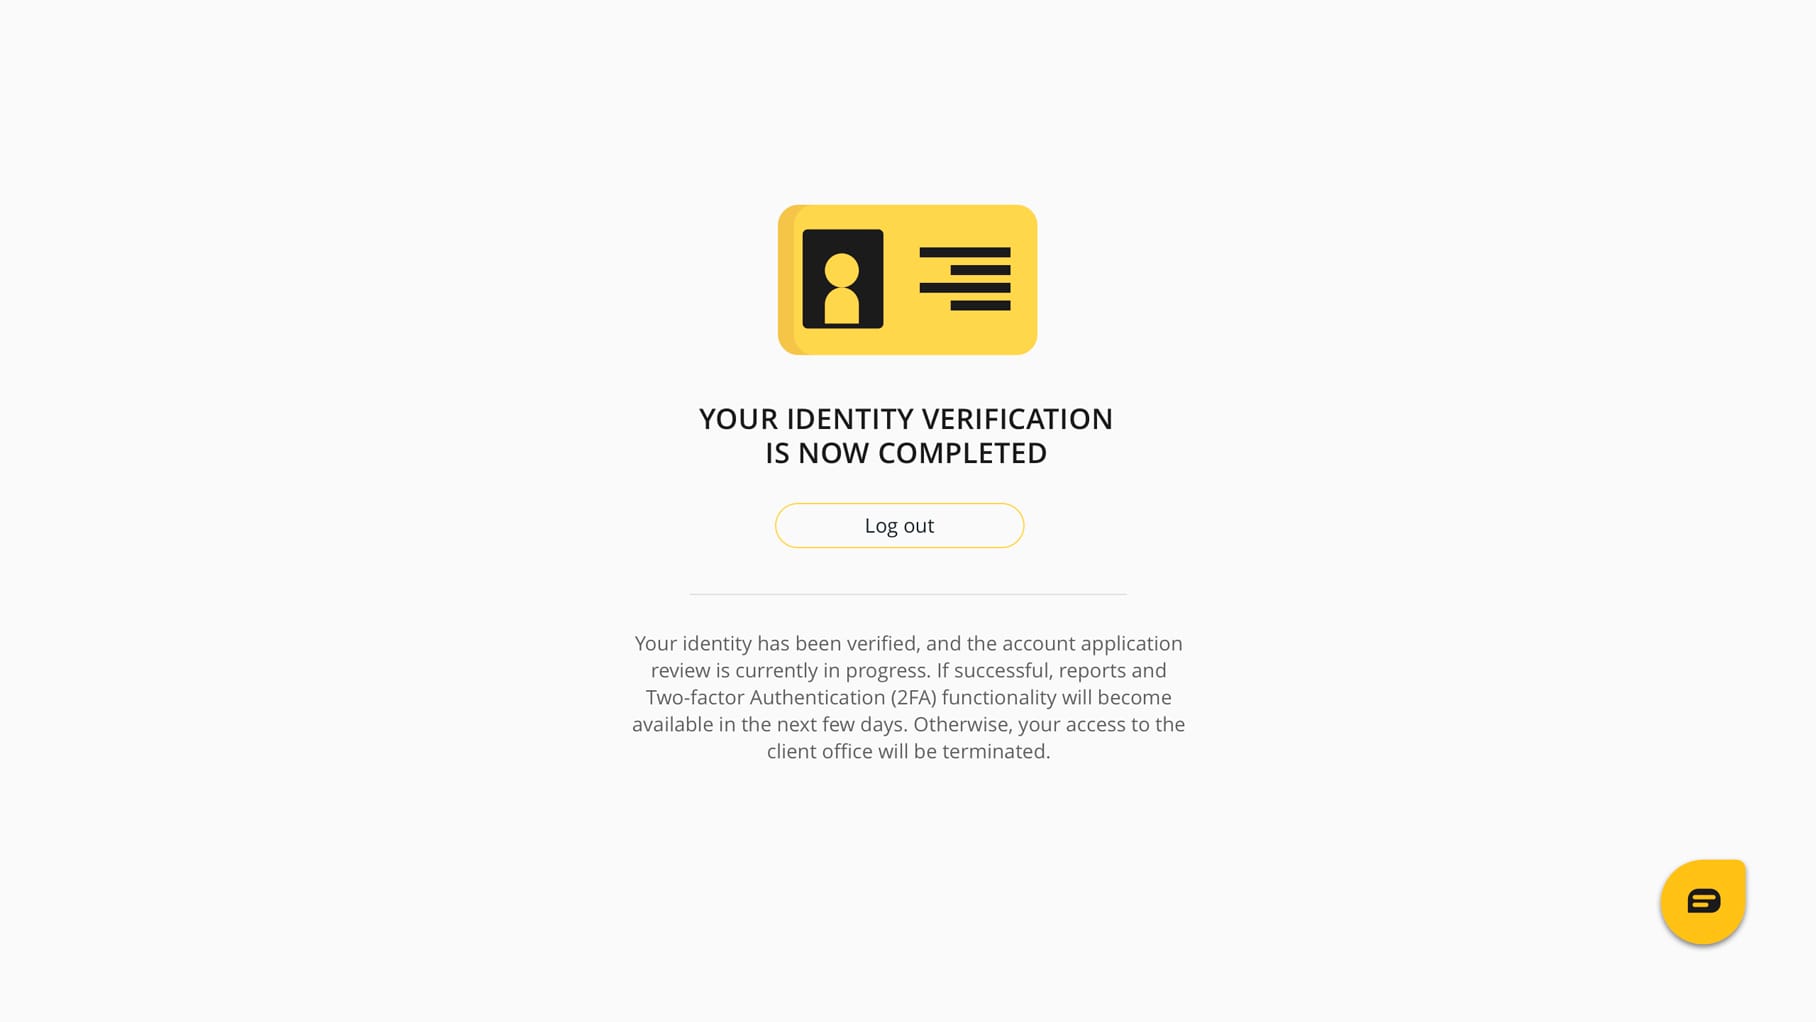
After completing the identity verification process, your profile will await confirmation from the compliance team. Once the compliance check is completed, you will receive an email notification with the approval / rejection result.
N.B. Please note that the functionality of the client office will remain limited for you during the compliance check.
Step 9
Access the Client office.
After the profile confirmation is received, user is able to access the Client Office and start working.
